This document outlines the process for exporting online gifts from Paperless Transactions, confirming the Constituent ID and formatting a file into a structure which can be imported into RE.
The process uses an Excel template called “MNA Paperless2RE Template” located on here on Sharepoint.
Background Information
The donation process assumes the following:
- Imports into RE are currently only of settled/deposited transactions
- Individual batches are required for unique combinations of Transaction Date and Settlement Date
- Transaction reporting/exporting from Paperless can only be done on the basis of Transaction Date.
- Paperless may nor update the Settlement Date until as late as mid-afternoon of the day after – Example, running the ‘Trasaction’ report in the morning on the 21st may not show transactions from the 20th.
Process Steps
Pull data from Paperless
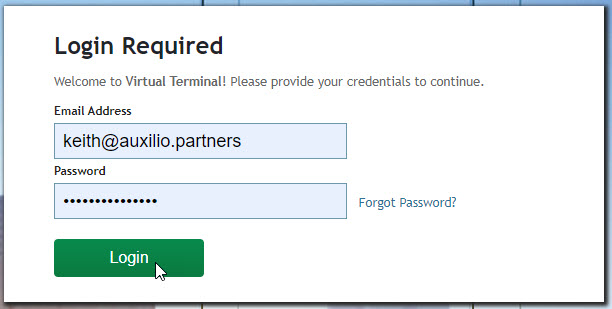
- Login with your credentials – https://virtual.paperlesstrans.com/Login.aspx
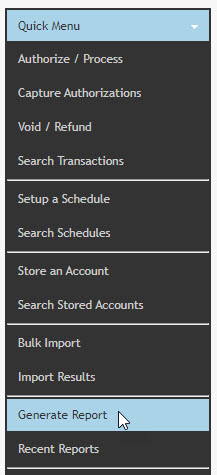
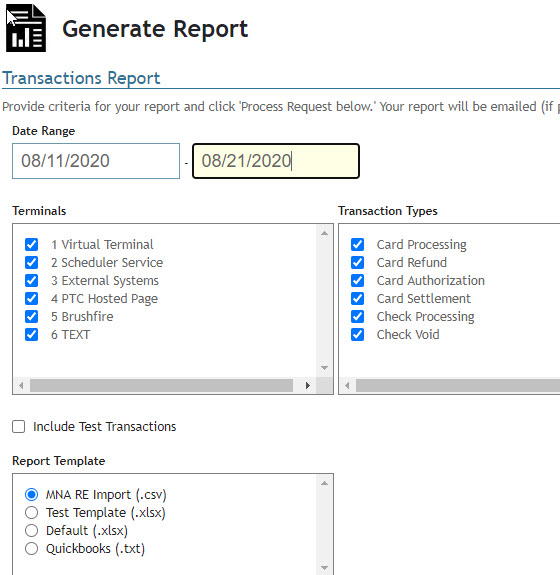
- Go to ‘Generate Reports’
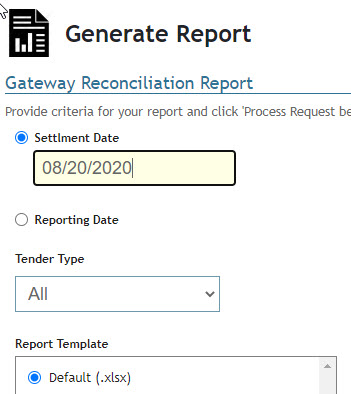
- Gateway Reconciliation report – Use the default of Settlement Date; pull for yesterday; if Monday pull for Fri-Sun [one day at a time]
- Open file(s) and check # transactions & type
- Summary tab – totals by Credit Card & eChex
- Reconciliation tab – Report Date should be the actual deposit date to check against bank records
- CC transactions – Payor = MERCHANT BNKC
- ACH transactions – Payor=PTC
- Transaction report – Go back 10 days to previous day [ACH normally take 7 days from Transaction to deposit]
- Open file
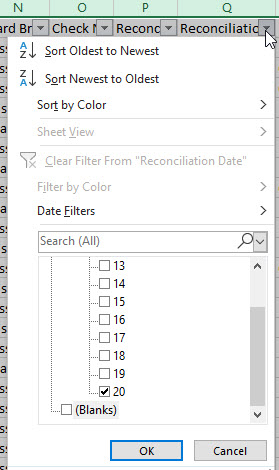
- Sort by Transaction Type, Reconciliation Date
- Filter on Reconciliation Date = date to be processed;
- Confirm counts versus the Reconciliation report


Update ‘Paperless2RE Template’ spreadsheet
- ‘Import’ tab – confirm that the date & type has not already been processed
- ‘PT Trans’ tab –
- If not empty of data, remove the data from fields
- Copy the fields from the Transaction report for the Type & Date, click on A2 and paste
- Check in RE to see if any Constituents not identified – look at phone & email as well


Add new constituents to RE
- Add Constituent to RE
- Get Constituent ID to use – add Constituent at the bottom of the Email tab [DO NOT add the Constituent ID directly on the ‘PT Trans’ tab
- Ensure that all records on ‘PT Trans’ have a Constituent ID
Review and complete ‘RE Import’ tab
- Highlight the fields in Row 2 and drag down for the number of records in the ‘PT Trans’ tab. If there appear to be any formulas missing, please copy row 2 from the ‘RE import Copy’ tab
- Ensure that all records have the Constituent ID
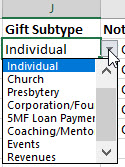
- Review “Gift SubType” column – The value of the field has been calculated on the ‘PT Trans’ tab and referenced in the ‘RE Import’ tab. If a change is required, the column has a dropdown list attached enabling you to override the calculated value.
- Update the ‘Import’ tab with the appropriiate dates
- Save the worksheet


Export & Import
- Click on ‘RE Import’ tab
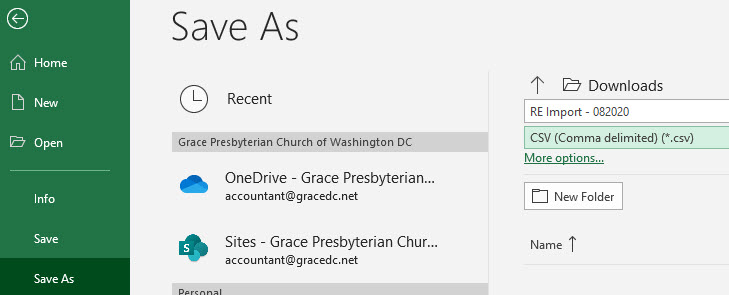
- Click ‘File’ -> “Save As”
- .Save file with name “PT Re Import <Settlement Date>” and as a Type of CSV – Comma Delimited.
- Import into RE